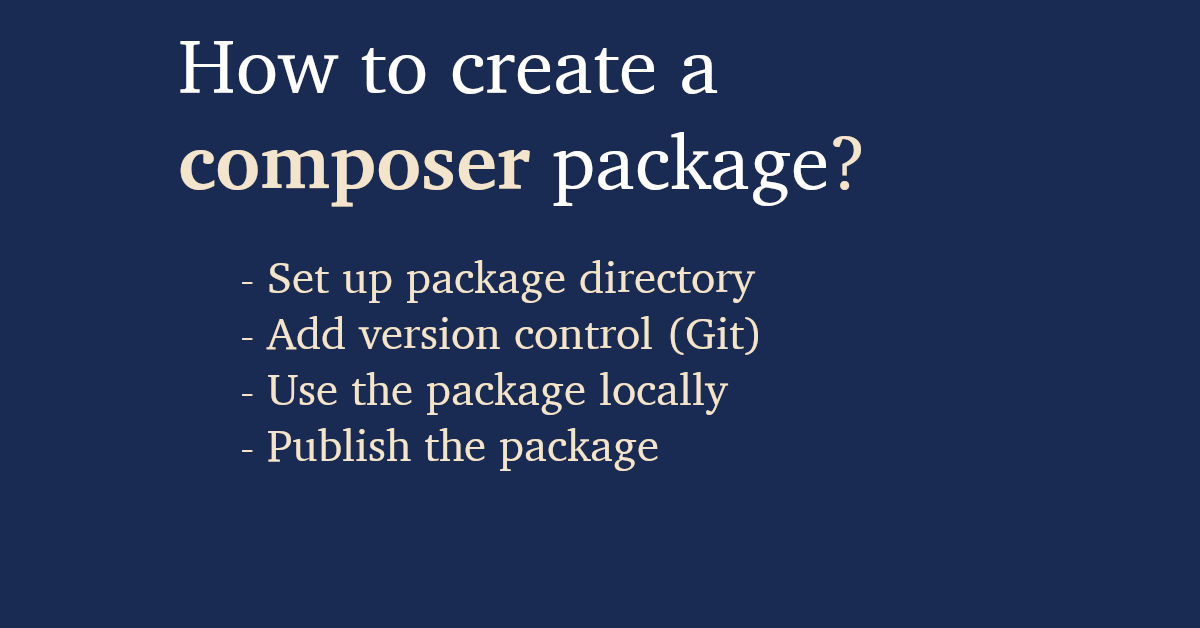
Below is a step-by-step guide to create your gihandilanka/test-composer-package package.
Step 1: Set Up the Package Directory
1. Create a New Directory for Your Package:
mkdir test-composer-package
cd test-composer-package
2. Initialize Composer: Run the following command to create the composer.json file:
composer init
During the interactive setup, use:
- Package Name:
gihandilanka/test-composer-package - Description: Your description of the package.
- Type:
library - License: Choose a license, e.g.,
MIT.
3. Structure Your Package: Here’s the basic structure:
laravel-auth-passport/
├── src/
│   └── ServiceProvider.php
├── composer.json
├── README.md
├── LICENSE
4.) Develop your package as you want.
Step 2: Add Version Control
1. Initialize a Git Repository:
git init
git add .
git commit -m "Initial commit"
2. Create a Remote Repository: If hosting publicly, create a repository on GitHub or GitLab, then push:
git remote add origin https://github.com/gihandilanka/test-composer-package.git
git push -u origin main
Step 3: Use the Package Locally
1. Add Package to a Laravel Project: In your Laravel project, add your package repository to composer.json:
"repositories": [
    {
        "type": "path",
        "url": "../path-to-your-package/test-composer-package"
    }
]
2. Require the Package:
composer require gihandilanka/test-composer-package
Step 4: Publish the Package (Optional)
If you’d like to make the package publicly available, you can publish it on Packagist:
- Push Code to GitHub/GitLab: Ensure the code is on a public repository.
- Submit to Packagist:
- Go to Packagist.org.
- Log in and submit your repository URL.

